
This guide will take to step by step on installing and configuring AssistMyTeam Helpdesk (Personal Edition) in your Microsoft Outlook (2010, 2013, 2016, 2019, 2021, 365)
AssistMyTeam Helpdesk makes working on support requests very easy by seamlessly integrating the process of submitting, assigning, tracking and fulfilling support requests all inside your much used Microsoft Outlook. It is installed on individual computer as an add-in extension to Microsoft Outlook. No database, file server is required.
There are two different setups – one each for 32-bit Outlook and 64-bit Outlook
- PersonalHelpdeskSetup_x86.zip (for 32-bit Outlook)
- PersonalHelpdeskSetup_x64.zip (for 64-bit Outlook)
Extract these file contents to a file folder in your system.
Step 1. Run the PersonalHelpdeskSetup_xXX.exe to start the installation. Click ‘Next’ to Continue. If Outlook 2010 or later is not installed, the setup wizard will not be able to proceed. Please also ensure Outlook is shutdown (if already running or active in the task manager) as the setup has to install an Outlook add-in.
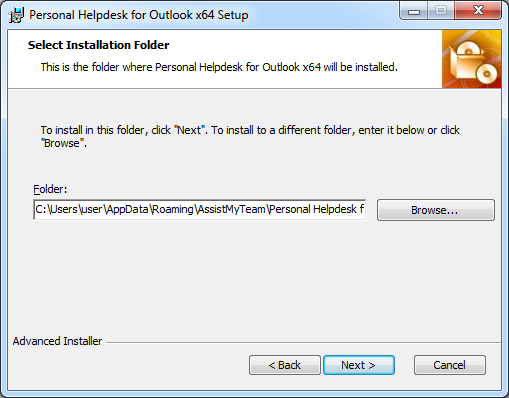
Step 2. Select the appropriate destination folder where the application files will be installed. If you change the default folder path, please make sure you have appropriate permission. (Note: by default, it will be installed under your application data folder)
Step 3. Click ‘Next’ to continue with the files extraction. It just takes a few minutes to complete the whole copying process
Step 4. Click ‘Finish’. This ends the files installation process in your system.
Step 5. Start Outlook (restart if it was already running during the files installation). As soon as Outlook is loaded, you will be prompted with the following dialog box, offering you two choices:
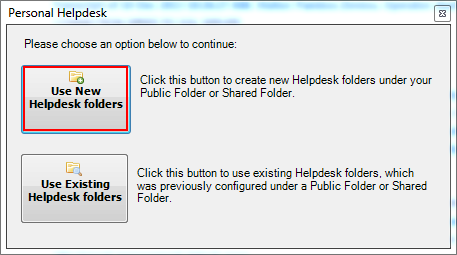
Click the first button ‘Use New Helpdesk Folders’ to create/copy new Personal Helpdesk folders (i.e., Ongoing Cases, Resolved Cases, KB, Schedules and History) from the template PST file. These folders are special as they contain customized fields, views and forms specific to Personal Helpdesk.
Step 6. A folders Installation Wizard dialog (as seen below) enables you to customize the name of the parent Personal Helpdesk folder that will be created. By default, it has a title of ‘Personal Helpdesk’.

Further, you can choose the language specific Outlook forms and Views to install. The following languages are supported: English, Español, Norwegian, Danish, Dutch, Deutsch, French, Finnish, Swedish, Portuguese
Step 7. Clicking ‘Next‘ button would enable you to select an Outlook parent folder where the specified Personal Helpdesk root folder would be created. Hence make sure you have adequate rights over the selected folder to create a new folder.
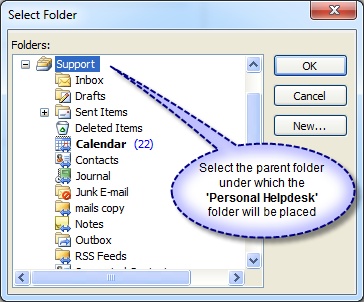
The tool would then copy Personal Helpdesk subfolders, forms & designs, views etc. from the Personal Helpdesk PST template file. It would look like the followings layout:

NOTE: When you start Outlook, if you are not prompted for the option to copy a new Personal Helpdesk folder, or choose existing one, then most likely, there might be remnants of earlier installation. In such scenario, go to Outlook > Personal Helpdesk menu and click ‘Copy a New Personal Helpdesk folder’. That will manually invoke the wizard tool for copying a new Personal Helpdesk folder to your Outlook
The installation and configuration in your Outlook is performed successfully. You can now choose to load the demo samples from Outlook > Personal Helpdesk toolbar > Settings menu > Demo Cases.
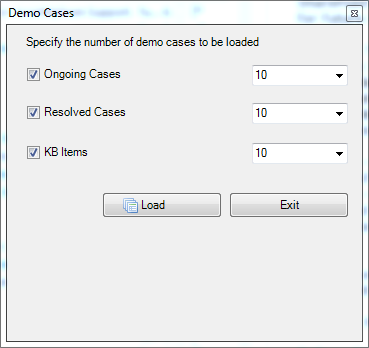
You can specify the number of sample ticket items to be created for Ongoing Cases/Resolved Cases as well as KB articles. Loading the demo cases will also load a sample data/configuration under Callers List, Assets List, and Problems List etc. You can of course delete these sample cases and data later on when you want to use for your live support.
The screenshot below lists all the files that are installed on the system.
The add-in files are targeted under current user’s application data folder.
E.g. C:\Users\[USER]\AppData\Roaming\AssistMyTeam\Personal Helpdesk for Outlook (x64 or x86)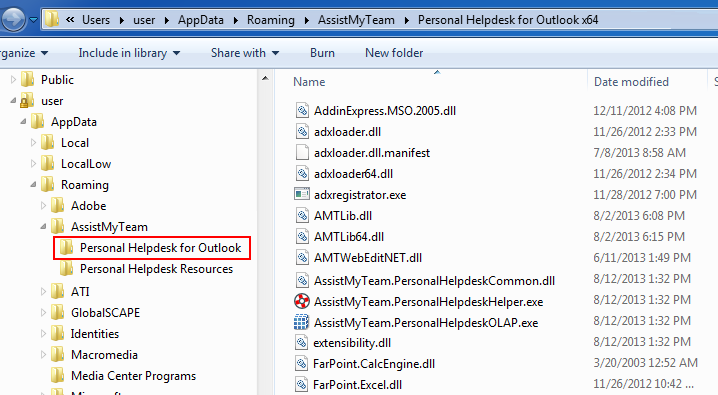
Template PSTs/Forms/Web Access files under current user’s application data folder.
E.g. C:\Users\[USER]\AppData\Roaming\AssistMyTeam\Personal Helpdesk Resources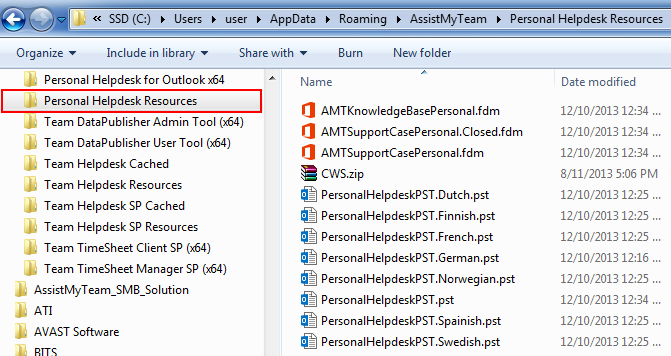
NOTE: PDF versions of this installation guide is available for download here.