
It typically takes not more than a minute to perform the install and configuration.
With this guide, you would be able to quickly and easily install and configure AssistMyTeam OLAP add-in for Outlook.
For ‘Per User Installation’ (ideal for standalone single user/workstation)
AssistMyTeamOLAPOutlookSetup_x86.zip (for Windows with 32-bit MS Office)
AssistMyTeamOLAPOutlookSetup_x64.zip (for Windows with 64-bit MS Office)
For ‘Per Machine Installation’ (ideal for installing on Citrix and Terminal Servers)
AssistMyTeamOLAPOutlookSetup_x86_Citrix.zip (for Windows with 32-bit MS Office)
AssistMyTeamOLAPOutlookSetup_x64_Citrix.zip (for Windows with 64-bit MS Office)
The downloaded zip file contains the setup.exe and other supporting documents. Extract these file contents to a file folder.
NOTE: Per User Installation and Per Machine Installation
In Per User Installation, the install is performed 100% on the local system and nothing is installed on your Windows Server. Further, this install is intended to serve only the current logged on user of the system/workstation and will be installed under the user’s application data folder (instead of Programs Files folder) and no elevated permission is required (This is known as per user installation). So, there won’t be a prompt from UAC to allow this install unless you change the install directory to say, Programs Files which will warrant an elevated permission/UAC prompt. If the same system is used by multiple users, each one needs to install the add-in on their profile with the default installation folder location.
Per Machine Installation: If you have the need to have a single install that serves all users of the system (i.e., per machine installation, which technically means the files will be installed under Program files folder and the add-in will be registered under HKEY_LOCAL_MACHINE registry hive rather than HKEY_CURRENT_USER), request here for the Citrix/Terminal Server version of the setups to perform a per machine installation.
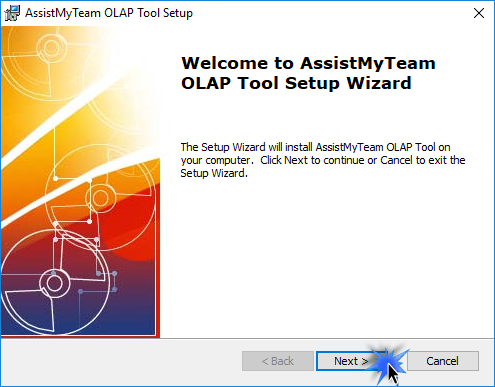
Step 1. Run the AssistMyTeamOLAPOutlookSetup_xXX.exe to start the installation. Click ‘Next‘ to Continue.
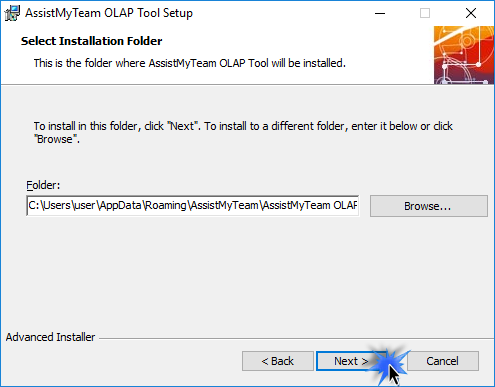
Step 2. Select the appropriate destination folder where the application files will be installed. If you change the default folder path, please make sure you have appropriate permission. (Note: by default, it will be installed under your application data folder)
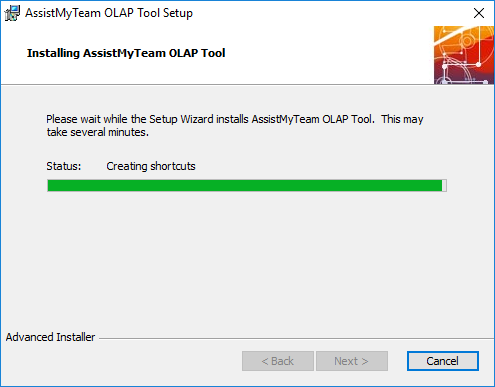
Step 3. Click ‘Next’ to continue with the files extraction. It just takes a few minutes to complete the whole copying process.
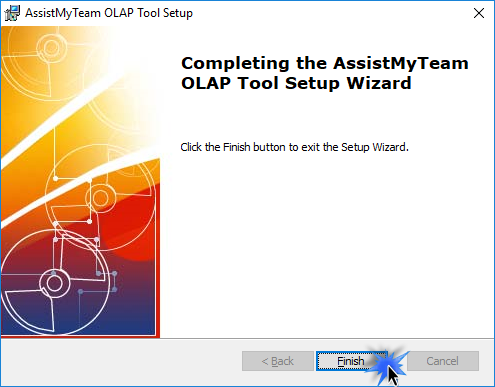
Step 4. Click ‘Finish’. This ends the files installation process in your system.
Now Start Outlook. If the installation was successful, you will see a new tab in your Outlook ribbon ‘AssistMyTeam OLAP’.
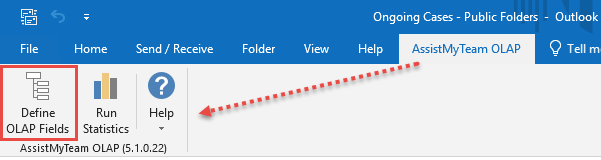
To start creating OLAP configuration and cube from an Outlook or Exchange folder, navigate to that particular Outlook or Exchange folder of interest. And from the ‘AssistMyTeam OLAP’ tab in ribbon, click ‘Define OLAP Fields’.
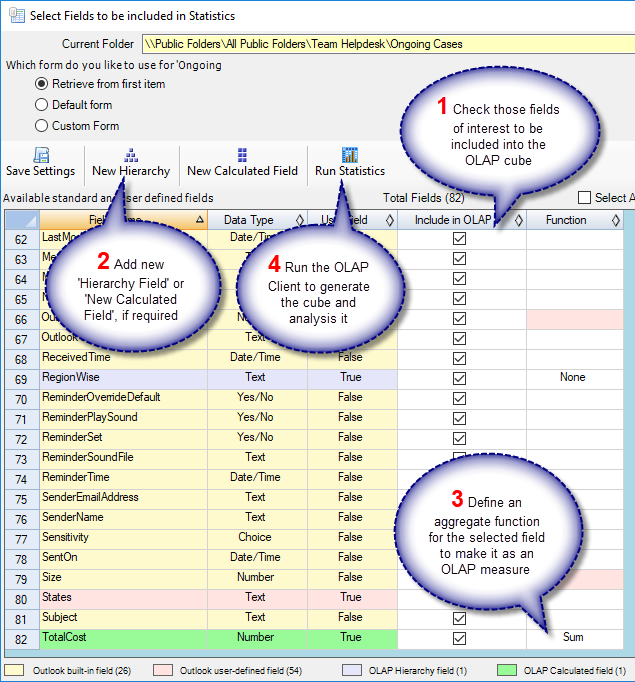
Choose the Outlook fields (including user defined ones) that you want to include in the OLAP cube by checking the corresponding ‘Include in OLAP’ check box. You can also add new composite or calculated fields by clicking the ‘New Hierarchy’ or ‘New Calculated Field’ buttons. Once a configuration is achieved, click ‘Run Statistics’ button. This will create a OLAP cube and will be loaded in the OLAP Client tool.
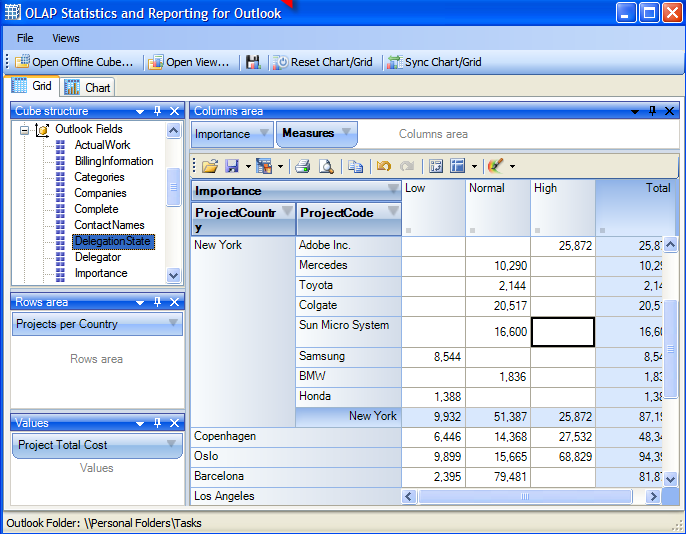
The AssistMyTeam OLAP Client tool is the main interface for analyzing the cube and generating reports. This tool consists of the Grid and Chart views with a high level of customizable user interface and interaction.
For more references and help, refer to the PDF Help Manual, which can be invoke from Start Menu > All Apps > AssistMyTeam OLAP for Outlook > Help Manual.
You can also download the full PDF help manual directly from this link.