Install Steps

Guide to install quickly, up and running for use in just a minute or two

It typically takes not more a minute to perform the install and configuration.

With this guide, you would be able to quickly and easily install and configure AssistMyTeam Database Exporter add-in in your Outlook (2010, 2013, 2016, 2019, 2021 and 365).

For ‘Per User Installation’ (ideal for standalone single user/workstation)
DatabaseExporterSetup_x86.zip (for 32-bit Outlook)
DatabaseExporterSetup_x64.zip (for 64-bit Outlook)

For ‘Per Machine Installation’ (ideal for installing on Citrix and Terminal Servers)
DatabaseExporterSetup_x86_Citrix.zip (for 32-bit Outlook)
DatabaseExporterSetup_x64_Citrix.zip (for 32-bit Outlook)

NOTE: Citrix setups are available only to Enterprise License holders

The downloaded zip file contains the setup.exe and other supporting documents. Extract these file contents to a file folder.

Per User Installation and Per Machine Installation

In Per User Installation, the install is performed 100% on the local system and nothing is installed on your Exchange or Windows Server. Further, this install is intended to serve only the current logged on user of the system/workstation and will be installed under the user’s application data folder (instead of Programs Files folder) and no elevated permission is required (This is known as per user installation). So, there won’t be a prompt from UAC to allow this install unless you change the install directory to say, Programs Files which will warrant an elevated permission/UAC prompt. If the same system is used by multiple users, each one needs to install the add-in on their profile with the default installation folder location.

Per Machine Installation: If you have the need to have a single install that serves all users of the system (i.e., per machine installation, which technically means the files will be installed under Program files folder and the add-in will be registered under HKEY_LOCAL_MACHINE registry hive rather than HKEY_CURRENT_USER), request the Citrix/Terminal Server version of the setups from us to perform a per machine installation.

Step-by-step Guide

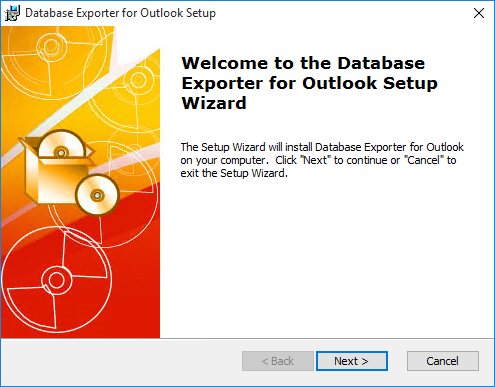
Step 1. Run the DatabaseExporterSetup_xXX.exe to start the installation. Click ‘Next‘ to Continue. If Outlook 2010 or later is not installed, the setup wizard will not be able to proceed. Please also ensure Outlook is shutdown (if already running or active in the task manager) as the setup has to install an Outlook add-in.

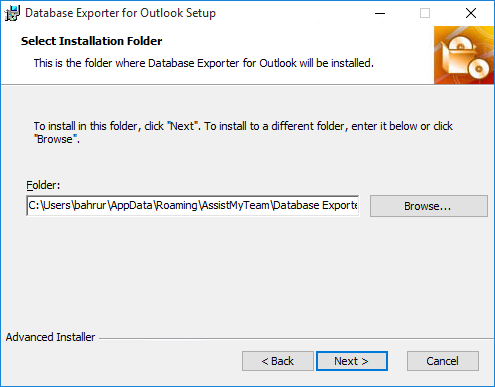
Step 2. Select the appropriate destination folder where the application files will be installed. If you change the default folder path, please make sure you have appropriate permission. (Note: by default, it will be installed under your application data folder)

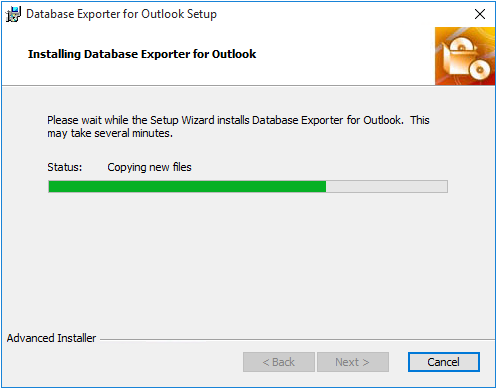
Step 3. Click ‘Next’ to continue with the files extraction. It just takes a few minutes to complete the whole copying process.

Step 4. Click ‘Finish’. This ends the files installation process in your system.

Now start Microsoft Outlook. If the Database Exporter add-in installation was successful, you will see a toolbar or ribbon with the title ‘AssistMyTeam DB Exporter’ in Outlook.

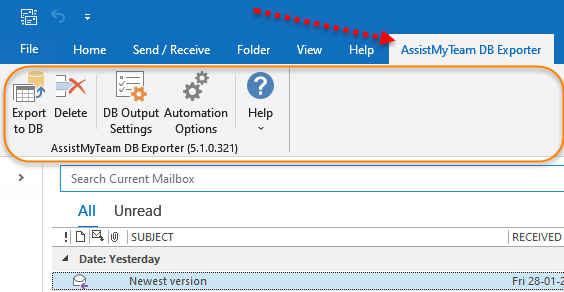
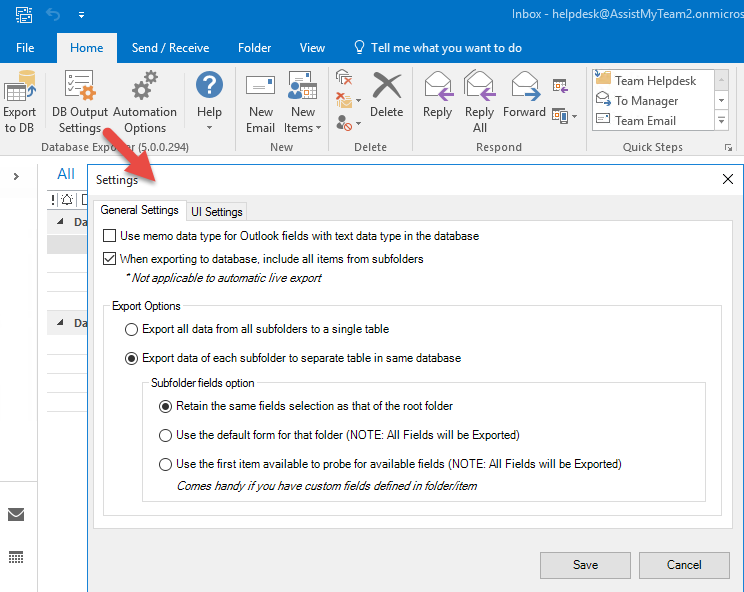
To configure the export settings to database and others, click the ‘DB Output Settings’ button.

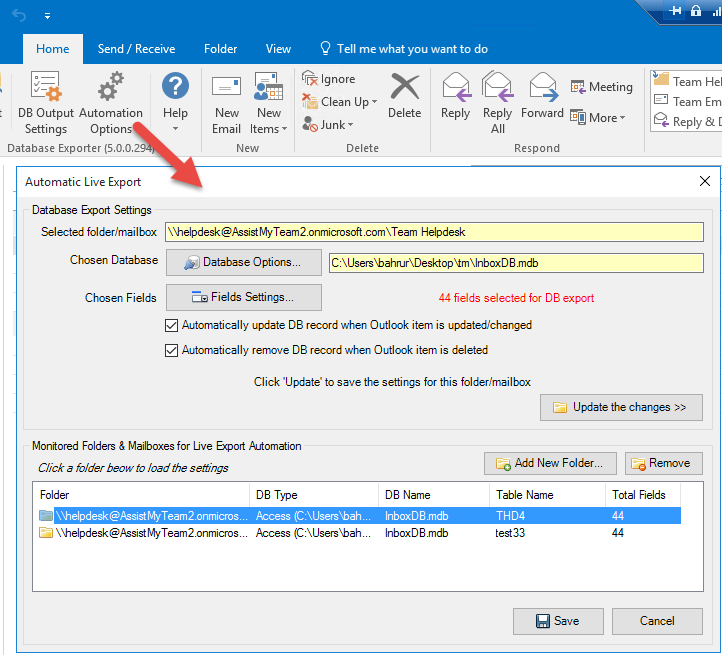
For auto export of Outlook data to a database, click the ‘Automation Options’ button.

For more references and help, refer to the PDF Help Manual, which can be invoke from the Outlook > Database Exporter toolbar or ribbon > Help > Help Topics.

You can also download the full PDF help manual directly from this link.