

Part I: Admin add-in Part II: Client Add-in
Part-I: Admin Installation and Configuration
This has to be performed by the administrator/manager before the Client tool is installed on every user’s system. There are 2 sections in administrative installation:
a) Files Installation, and b) Project Database Configuration
The Admin setup is of two different types – one each for 32-bit Outlook and 64-bit Outlook
For Per User Installation:
TeamTimeSheetManagerSetup_x86.exe (for 32-bit Outlook)
TeamTimeSheetManagerSetup_x64.exe (for 64-bit Outlook)
For Per Machine Installation:
TeamTimeSheetManagerSetup_x86_Citrix.exe (for 32-bit Outlook)
TeamTimeSheetManagerSetup_x64_Citrix.exe (for 64-bit Outlook)
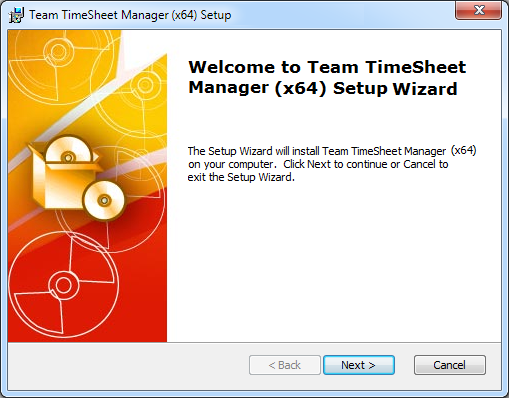
Step 1. Run the TeamTimeSheetManagerSetup_xXX.exe to start the installation. Click ‘Next’ to Continue. If Outlook 2007 or later is not installed, the setup wizard will not be able to proceed. Please also ensure Outlook is shutdown (if already running or active in the task manager) as the setup has to install an Outlook add-in.
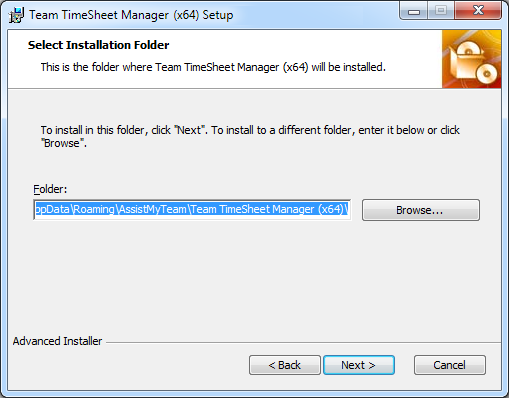
Step 2. Select the appropriate destination folder where the application files will be installed. If you change the default folder path, please make sure you have appropriate permission. (Note: by default, it will be installed under your application data folder).
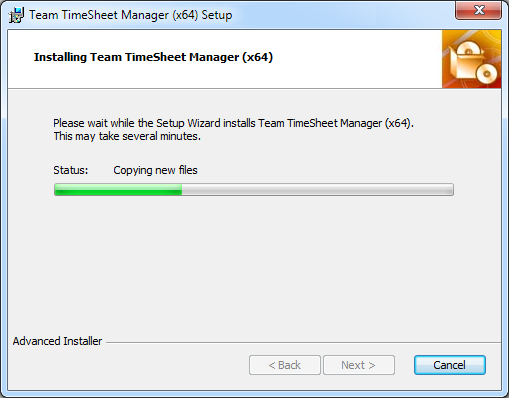
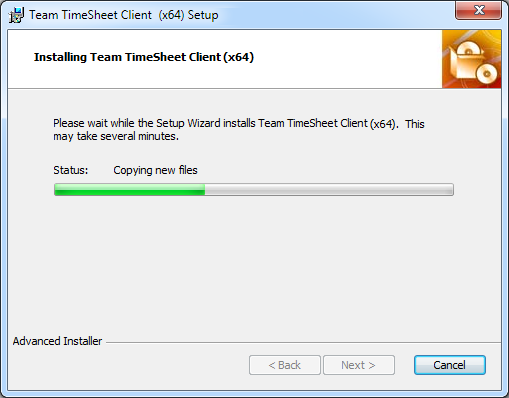
Step 3. Click ‘Next’ to continue with the file’s extraction. It just takes a few minutes to complete the whole copying process.
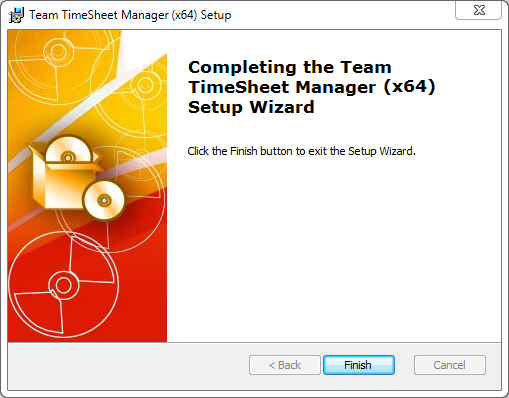
Step 4. Click ‘Finish’. This ends the files installation process in your system. Now start Microsoft Outlook.
b) Project Database Configuration
The next step is to choose a database option and configure it to store the project metadata such as project/activity lists, notification options, email templates, members list, reporting settings etc. as well as other global settings that streamline the behavior on how all members work, track and publish their timesheets in Outlook.
If you have just installed the TimeSheet Managerial tool, you will get to see this ‘Project Data Source’ Settings dialog when you start Outlook.
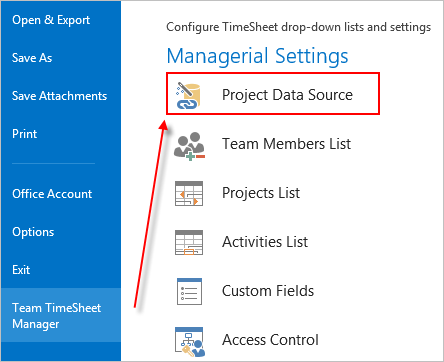
Alternatively, you can invoke this dialog box from ‘Team TimeSheet Manager’ > Project Data Source menu, in case of Outlook 2007. If you are on Outlook 2010 or above, you can get to this from Outlook > the backstage File > Team TimeSheet Manager > Project Data Source button.
You can choose a project database between a Microsoft Access (MDB file) to a Microsoft SQL Server, or Azure SQL Database (cloud db).
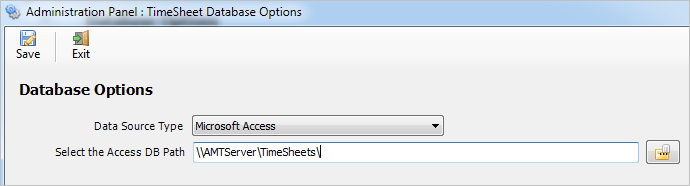
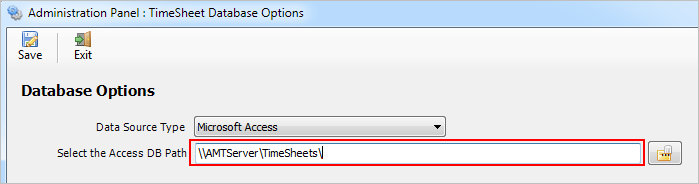
i) Using Microsoft Access – If you choose ‘Microsoft Access’, the database file (e.g., TeamTimeSheet.MDB) will need to be placed on a shared network folder such that all members (that have the Client add-in in their Outlook) have access to the network folder. When you specify the location where the MDB file is to be created, make sure you choose a UNC path (e.g., \\AMTServer\TimeSheets) instead of a mapped one because, a mapped drive might only be accessible to you. One important consideration with having a network Access database is the write permission on the folder and the MDB file itself. Make sure, the shared folder or the MDB file is not configured ‘read-only’ for all members on the network, otherwise, they won’t be able to publish their timesheets to the database from their respective Outlook.
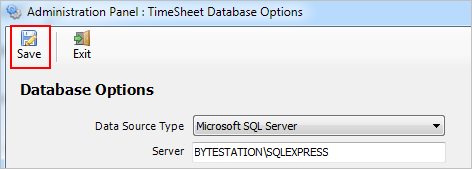
ii) Using Microsoft SQL Server – It is recommended to use a dedicated SQL Server database option, if you have a high number of users (> 25) publishing their timesheets from their Outlook to the database, as it gives a better performance and is easily scalable.
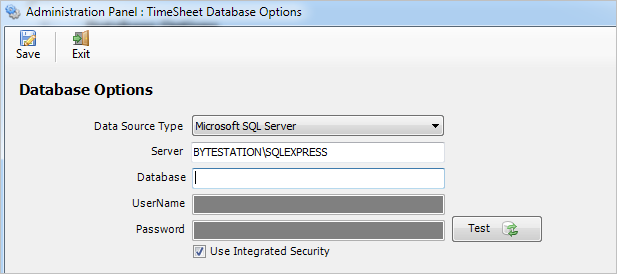
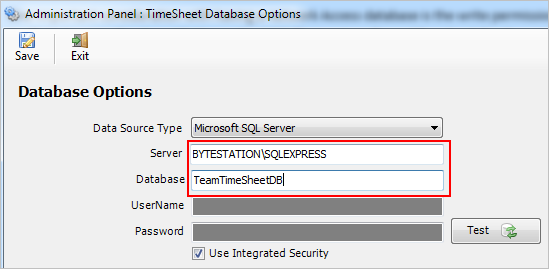
For SQL server, the server’s name is mandatory. The Database name is optional. If it is left empty, a new database with the name ‘TeamTimeSheetDB’ would be created. If your SQL server is configured to use windows authentication (NTLM), then you can check the ‘Use Integrity Security’ option to let Windows manager the credentials to access the resources on the SQL server.
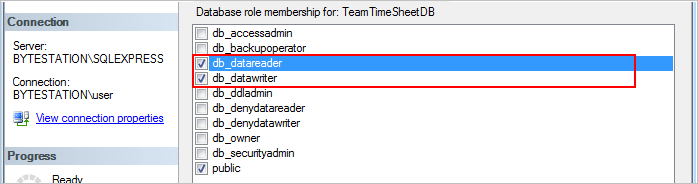
Permission for users on the SQL database – Each member should have both db_datareader and db_datawriter permission on the Team TimeSheet SQL database.
iii) Using Microsoft Azure SQL – Azure SQL Database is a cloud-based relational database service from Microsoft, which is based on SQL Server database. This option is ideal for team that have users scattered or working remotely in different locations but have access to the web.
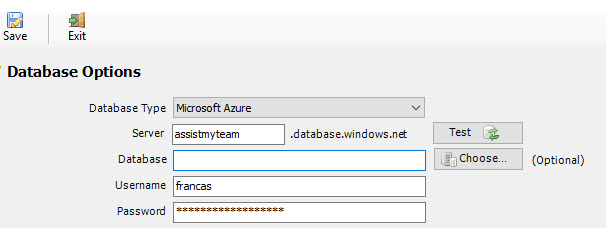
NOTE: If no database name is mentioned, the manager add-in will create a new database in your Azure SQL server, by the name of ‘TeamTimeSheetDB’.
Once you click ‘Save’, the manager tool will automatically create the chosen database (if it does not exist already). And then any project metadata and other settings/drop down lists you defined from Team TimeSheet Manager add-in in Outlook would be saved in this repository.
Next, install the Team TimeSheet Client add-in to the systems of your other staffs. You can install the Team TimeSheet Manager add-in on other systems as well if the particular user has the need to perform administrative tasks.
Make sure that you have provided the chosen database location information to all users who have or will install the Client tool (such as the network shared folder where the MDB file is located for Access database e.g., \\AMTServer\TeamTimeSheets or the Server name in the case of SQL server database e.g., BYTESTATION\SQLEXPRESS). This is required because when user starts Outlook after installing Team TimeSheet Client add-in, it will prompt to specify the project database location. And only then the add-in would automatically connect to the admin specified database to retrieve the project logic and timesheet settings data to the local system.
NOTE: There are other administrative configurations that you would need to undertake. These options are available in the ‘Team TimeSheet Manager’ menu in Outlook. For more references and helps on performing these administrative configurations, refer to the PDF Help Manual, which can be invoke from the Team TimeSheet Manager > Help Topics.
You can also download the full PDF help manual directly from this link.
Part-II: Client Installation and Configuration
This install is meant for normal users who would be preparing timesheets in Outlook before reporting and submitting to the project database. Before you install the Client tool, make sure your administrator has already configured the Project Data Source settings on a network Microsoft Access or SQL Server database with the Team TimeSheet Manager tool. And collect the Project database information from your admin as you will need to feed to the Team TimeSheet Client Add-in once it is installed (for the purpose of linking up the Client tool with the project database).
The Team TimeSheet Client setup is of two different types – one each for 32-bit Outlook and 64-bit Outlook:
For ‘Per User Installation’ (ideal for standalone single user/workstation)
TeamTimeSheetClientSetup_x86.exe (for 32-bit Outlook)
TeamTimeSheetClientSetup_x64.exe (for 64-bit Outlook)
For ‘Per Machine Installation’ (ideal for installing on Citrix and Terminal Servers)
TeamTimeSheetClientSetup_x86_Citrix.exe (for 32-bit Outlook)
TeamTimeSheetClientSetup_x64_Citrix.exe (for 64-bit Outlook)
The Client installation has to be performed by each member of the team before they can start reporting timesheets and other project deliverables from Outlook to the database.
There are two sections in Client installation:
a) Files Installation, b) Database Connection
(Note: if the administrator/manager needs to prepare timesheets and report to the database from Outlook, the Client tool also needs to be installed, apart from the admin portion. It is perfectly normal to have both Admin and Client add-ins installed on the same machine. However, for normal users, just the Client add-in is enough).
a) Files Installation
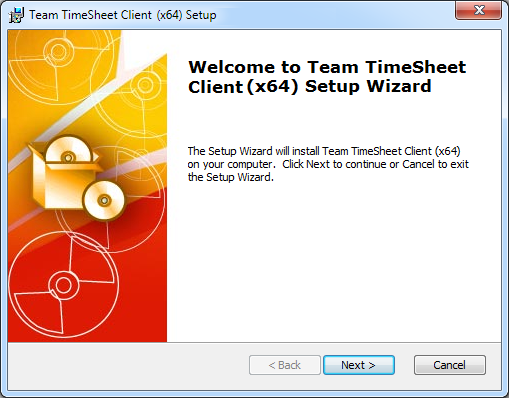
Step 1. Run TeamTimeSheetClientSetup_xXX.exe to start the installation. Click ‘Next’ to Continue. If Outlook 2007 or later is not installed, the setup wizard will not be able to proceed.
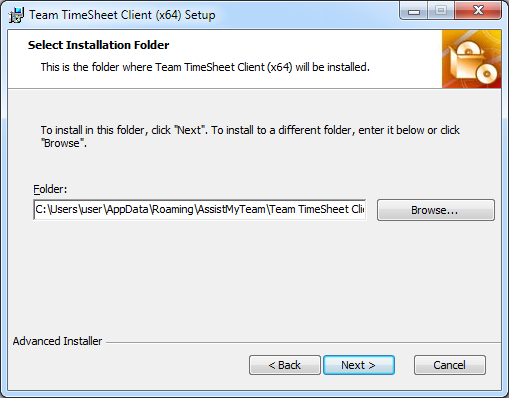
Step 2. Select the appropriate destination folder where the application files will be installed. If you change the default folder path, please make sure you have appropriate permission. (Note: by default, it will be installed under your application data folder).
Step 3. It may take a few minutes to complete the whole copying and registration process.
Step 4. Click ‘Finish’ to end the installation wizard. Now start Microsoft Outlook.

b) Database Connection.
Once you have just installed the Team TimeSheet client tool, you will get to see this ‘My Project Data Source’ panel when you start Outlook.
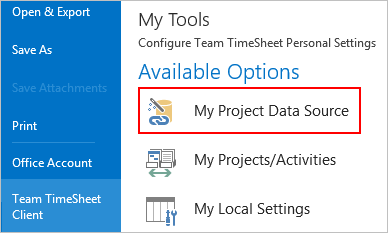
Alternatively, you can invoke this dialog box from ‘Team TimeSheet Client’ > My Project Data Source menu, in Outlook 2007. If you are on Outlook 2010 and above, you can get to this from Outlook > backstage File > Team TimeSheet Client > My Project Data Source
So, what is the Project Data Source?
The project data source is nothing but a database that your administrator had created and configured under your company’s network with the Team TimeSheet Manager tool (either could be a Microsoft Access MDB file with the name ‘TeamTimeSheet.mdb’ stored on a network folder or a Microsoft SQL Server database with the name ‘TeamTimeSheetDB’ located in your office network). The data source stores the projects and activities, email templates, notification and reporting settings. In short, these are global settings that streamline the behavior on how all members work, track and publish their timesheets in Outlook.
i) Access database – If your administrator had chosen a Microsoft Access database, it would be on a shared network path (eg. \\AMTServer\TimeSheets\). All you need to do is enter that URL path in the Access path box as shown below:
One important consideration with having a network Access database is the write permission on the folder and the MDB file itself. Make sure, the shared folder or the MDB file is not configured “read-only”, otherwise, you may not be able to report timesheets and other project deliverables successfully to the database.
ii) SQL Server database – Another database option is the SQL server. You need to enter the server’s name where the database for Team TimeSheet resides. The Database name is optional only if your administrator had left it blank when configuring it the first time. If it is left empty, it would assume the default database name is “TeamTimeSheetDB”.
If your SQL server is configured to use windows authentication (NTLM), then you can check the “Use Integrity Security” option to let Windows manage the credentials to access the resources on the SQL server, otherwise, you need to supply valid credential (username and password).
iii) Using Microsoft Azure SQL – Azure SQL Database is a cloud-based relational database service from Microsoft, which is based on SQL Server database. This option is ideal for team that have users scattered or working remotely in different locations but have access to the web.
NOTE: If the database name is left empty, it would assume the default database name is “TeamTimeSheetDB”.
Now, click the Save button, to confirm the connection. Team TimeSheet Client add-in is now ready to connect to the Project Data Source to synchronize projects and other settings metadata from SharePoint to your system
Additional step on the SQL database.
If your administrator had configured Team TimeSheet to store the settings and other configurations in a SQL server database, then please make sure that you have adequate permission to access and update the tables in that database i.e., db_datareader and db_datawriter permission on the Team TimeSheet SQL database.
NOTE: For more references and help with preparing timesheets in Outlook, refer to the PDF Help Manual, which can be invoked from Outlook > Team TimeSheet Client > Help Topics.
You can also download the full PDF help manual directly from this link.