
Part-I: Files Installation
Step 1. Run the PersonalTimeSheetSetup_xXX.exe to start the installation. Click ‘Next’ to Continue. If Outlook 2007 or later is not installed, the setup wizard will not be able to proceed. Please also ensure Outlook is shutdown (if already running or active in the task manager) as the setup has to install an Outlook add-in.

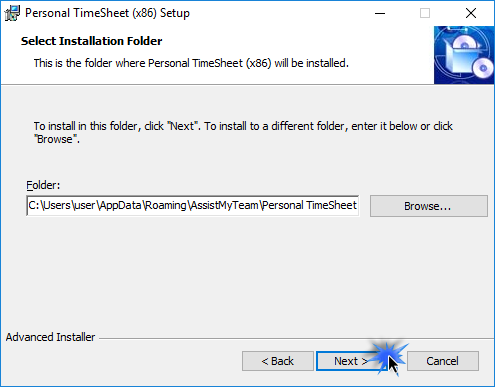
Step 2. Select the appropriate destination folder where the application files will be installed. If you change the default folder path, please make sure you have appropriate permission. (Note: by default, it will be installed under your application data folder).
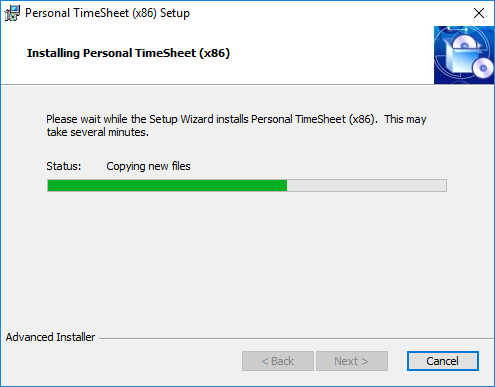
Step 3. Click ‘Next’ to continue with the file’s extraction. It just takes a few minutes to complete the whole copying process.
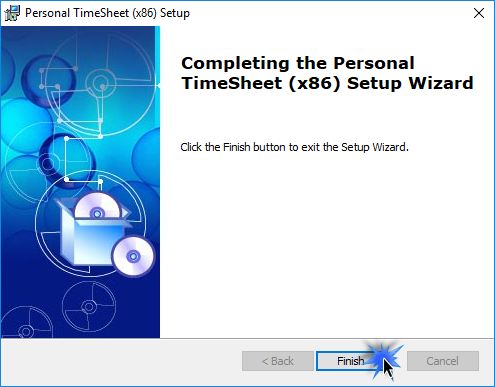
Step 4. Click ‘Finish’. This ends the files installation process in your system. Now start Microsoft Outlook.
Part-II: Project Database Configuration
The next step is to choose a database option and configure it to store the project metadata such as project/activity lists, notification options, email templates, members list, reporting settings etc. as well as other global settings that streamline the behavior on you work, track and publish their timesheets in Outlook.
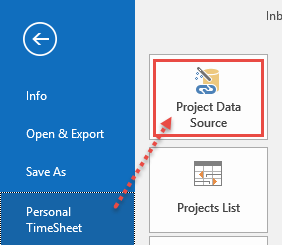
If you have just installed the Personal TimeSheet tool, you will get to see this ‘Project Data Source’ Settings dialog when you start Outlook.
Or you can get to this from Outlook > the backstage File > Personal TimeSheet > Project Data Source
You can choose a project database between a Microsoft Access (MDB file) to a Microsoft SQL Server, or Azure SQL Database (cloud db).
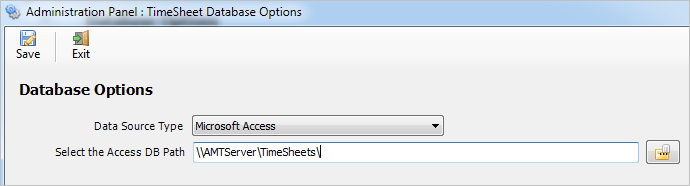
i) Using Microsoft Access – If you choose ‘Microsoft Access’, the database file (e.g., PersonalTimeSheet.MDB) will need to be placed on a file folder. When you specify the location where the MDB file is to be created, make sure you choose a valid folder from your computer or from another computer (shared folder). Note that it is recommended to use a UNC path if it is a network path e.g., \\AMTServer\TimeSheets instead of a mapped one because, a mapped drive might only be accessible to you.
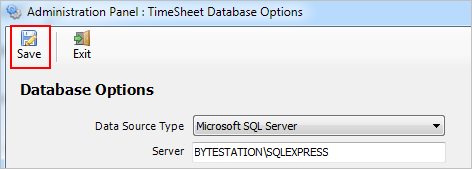
ii) Using Microsoft SQL Server – You can also use a dedicated SQL Server database option.
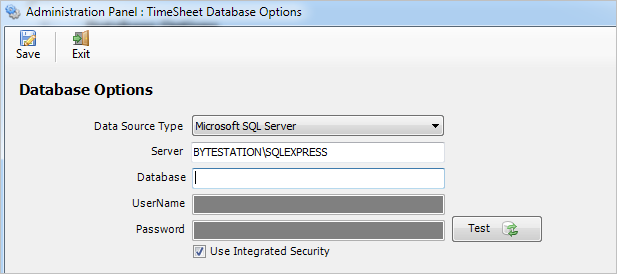
For SQL server, the server’s name is mandatory. The Database name is optional. If it is left empty, a new database with the name ‘PersonalTimeSheetDB’ would be created. If your SQL server is configured to use windows authentication (NTLM), then you can check the ‘Use Integrity Security’ option to let Windows manager the credentials to access the resources on the SQL server.
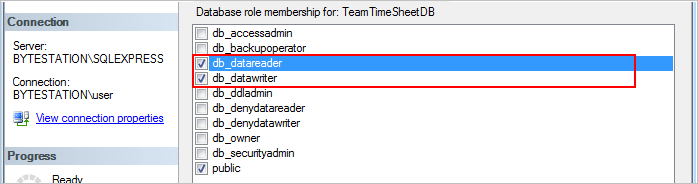
Permission for users on the SQL database – You should have both db_datareader and db_datawriter permission on the TimeSheet SQL database.
iii) Using Microsoft Azure SQL – Azure SQL Database is a cloud-based relational database service from Microsoft, which is based on SQL Server database. This option is ideal if you work remotely in different locations but have access to the web.
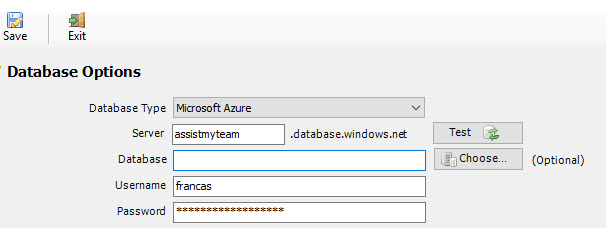
NOTE: If no database name is mentioned, the manager add-in will create a new database in your Azure SQL server, by the name of ‘PersonalTimeSheetDB’.
Once you click ‘Save’, the manager tool will automatically create the chosen database (if it does not exist already). And then any project metadata and other settings/drop down lists you defined from TimeSheet add-in in Outlook would be saved in this repository.
NOTE: There are other administrative configurations that you would need to undertake. These options are available in the ‘Personal TimeSheet ’ menu in Outlook. For more references and helps on performing these administrative configurations, refer to the PDF Help Manual, which can be invoke from the Personal TimeSheet > Help Topics.
You can also download the full PDF help manual directly from this link: