
Part-I: Files Installation
Step 1. Run the PersonalTimeSheetSPSetup_xXX.exe to start the installation. Click ‘Next’ to Continue. If Outlook 2007 or later is not installed, the setup wizard will not be able to proceed. Please also ensure Outlook is shutdown (if already running or active in the task manager) as the setup has to install an Outlook add-in.

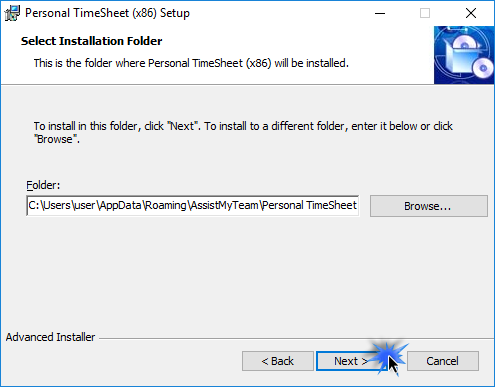
Step 2. Select the appropriate destination folder where the application files will be installed. If you change the default folder path, please make sure you have appropriate permission. (Note: by default, it will be installed under your application data folder).
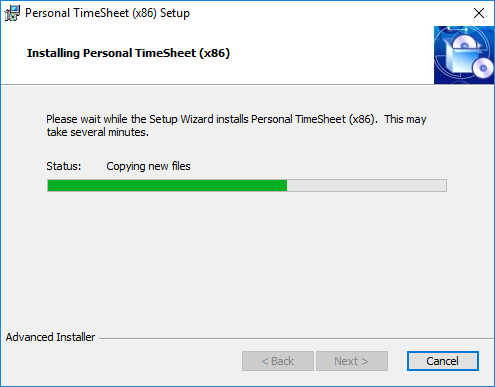
Step 3. Click ‘Next’ to continue with the file’s extraction. It just takes a few minutes to complete the whole copying process.
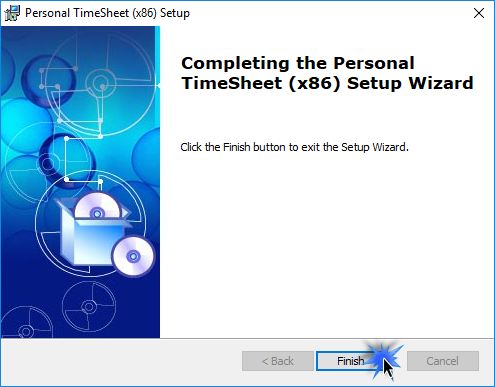
Step 4. Click ‘Finish’. This ends the files installation process in your system. Now start Microsoft Outlook.
Part-II: Perform Settings and Choose SharePoint lists
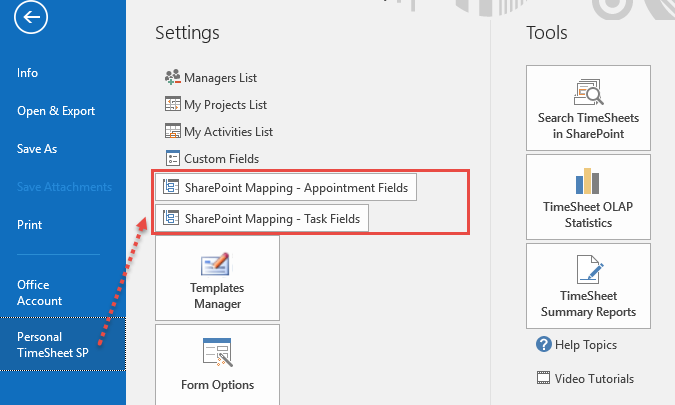
Once completed, start Outlook and go to Outlook > File > Personal TimeSheet SP menu where you will find all the administrative settings.
The second step is to compile drop down lists for projects, activities and other custom fields, specify reporting workflow, assigns managers to projects, set email notifications, billing and cost calculation choice etc. from the TimeSheet menu in Outlook (above).
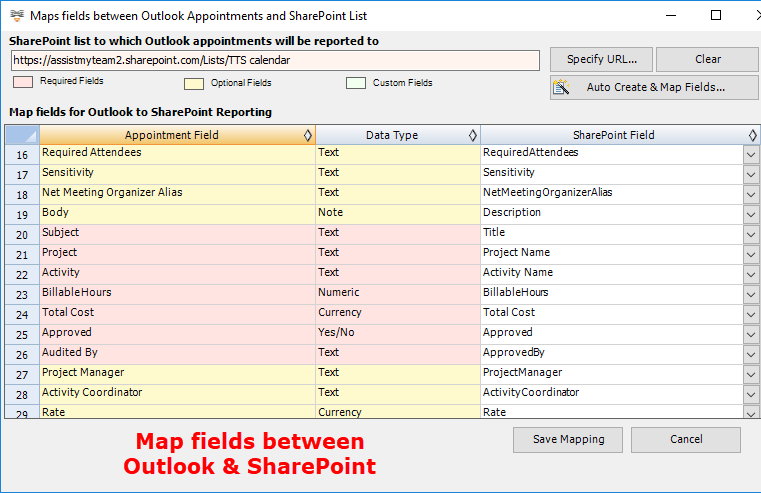
Finally, you will choose a SharePoint list each for appointment and task item types that will be used for storing all timesheets published from Outlook. Click the ‘SharePoint Mapping – Appointment Fields’ to choose and link a SharePoint calendar or list with Outlook appointment items. Similarly, if you do wish to publish Outlook task items as timesheets, choose another SharePoint task or generic list by clicking ‘SharePoint Mapping – Task Fields’.
You can choose which Outlook fields and other custom fields get published on the SharePoint list. All you need to do is map the Outlook fields with a relevant field of the SharePoint list.
With these settings, you can streamline the behavior on you work, track and publish timesheets from Outlook to SharePoint.
NOTE: There are other administrative configurations that you would need to undertake. These options are available in the ‘Personal TimeSheet ’ menu in Outlook. For more references and helps on performing these administrative configurations, refer to the PDF Help Manual, which can be invoke from the Personal TimeSheet > Help Topics.
You can also download the full PDF help manual directly from this link.