
Step-by-Step Guide
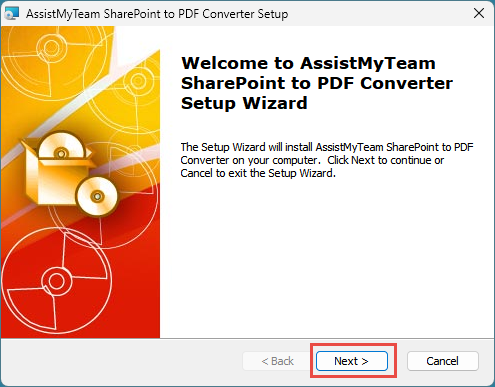
Step 1. Run the SharePointToPdfSetup.exe to start the installation. Click ‘Next‘ to Continue.
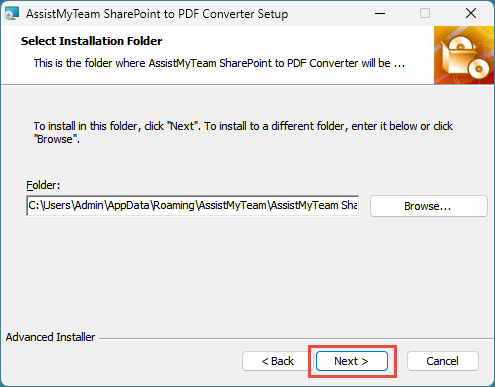
Step 2. Select the appropriate destination folder where the application files will be installed. If you change the default folder path, please make sure you have appropriate permission. (Note: by default, it will be installed under your application data folder)
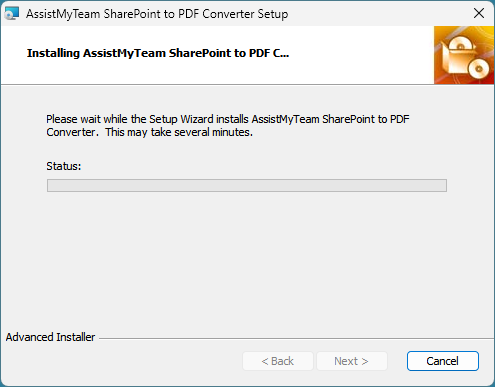
Step 3. Click ‘Next’ to continue with the files extraction. It just takes a few minutes to complete the whole copying process.
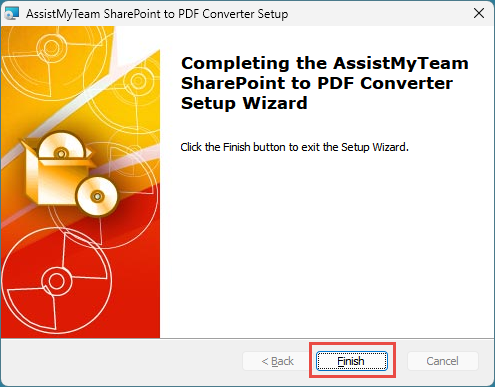
Step 4. Click ‘Finish’. This ends the files installation process in your system.
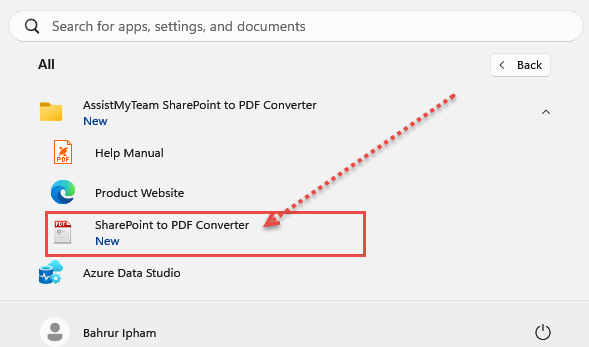
Now go to Start Menu > All Apps. If the installation was successful, you will see new menu entry ‘AssistMyTeam SharePoint to PDF Converter’.
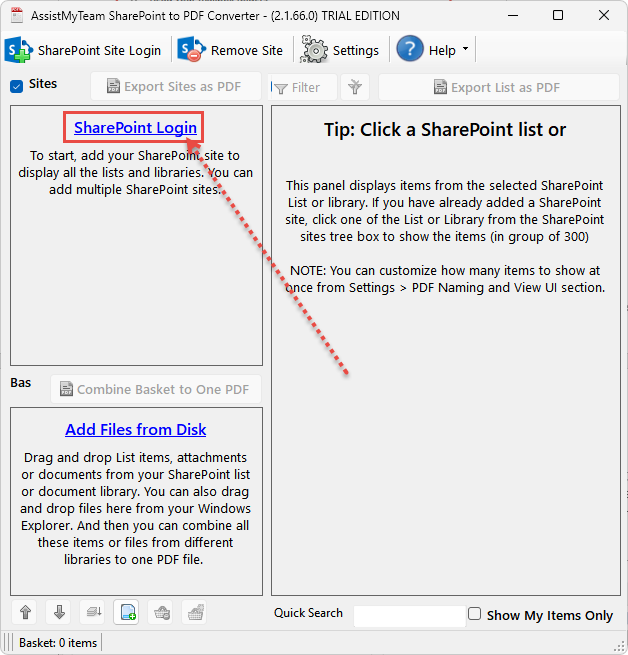
To run the app, click ‘SharePoint to PDF Converter‘ from the menu under ‘All Apps’ This will load and display the main interface of the converter app.
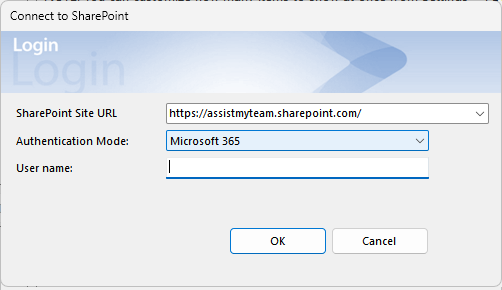
And click ‘SharePoint Login’ link either from the toolbar or from the panel as shown above. This will prompt you with a login dialog box, where you will need to enter the SharePoint URL, as well as choose an authentication mode (example, Microsoft 365) and your user email address.
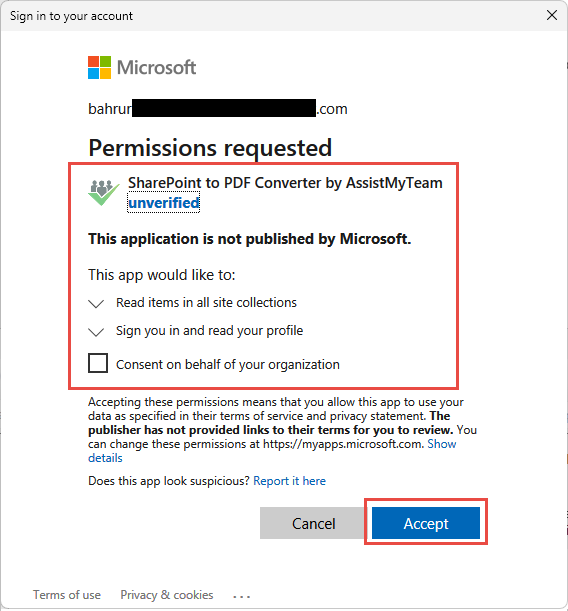
If you choose Microsoft 365 and when you try to connect the AssistMyTeam SharePoint to PDF Converter app to your SharePoint site for the first time, you will be prompted to grant permissions to the app to access your site. To allow the AssistMyTeam app to access the SharePoint site, click ‘Accept’ button from the prompt (which looks something like this below).
The SharePoint to PDF Converter app comes with a simple, familiar Windows Explorer lookalike user interface, where all the SharePoint lists and Document Libraries and folders of your SharePoint site, are shown in a tree-view control, in hierarchical structure.
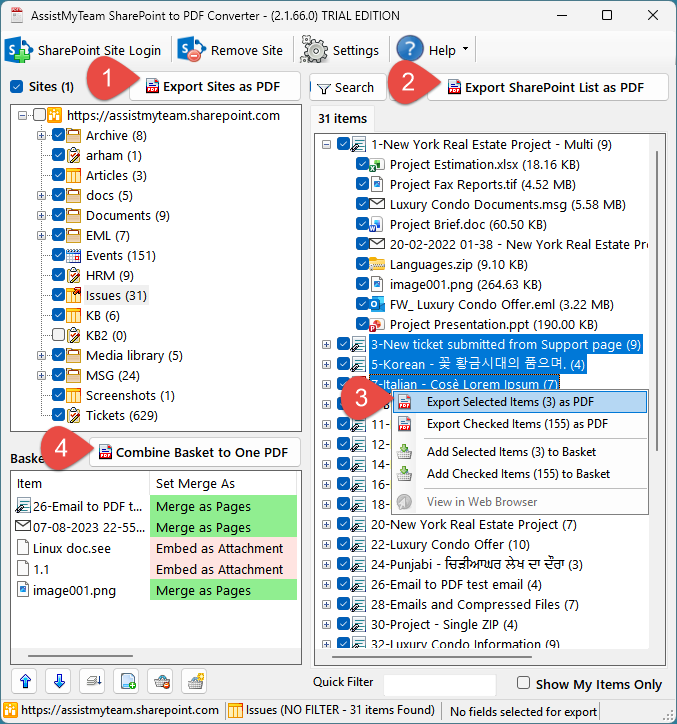
This arrangement provides user with seamless access to the SharePoint items and documents, where they can be processed and converted to PDF documents instantly. There are four ways to perform offline PDF conversion of your SharePoint lists and document libraries with AssistMyTeam SharePoint to PDF Converter:
- Whole SharePoint Sites to PDF
- Chosen SharePoint List or Document Library or folder to PDF
- Chosen list items, attachments or documents to PDF
- Basket list to PDF
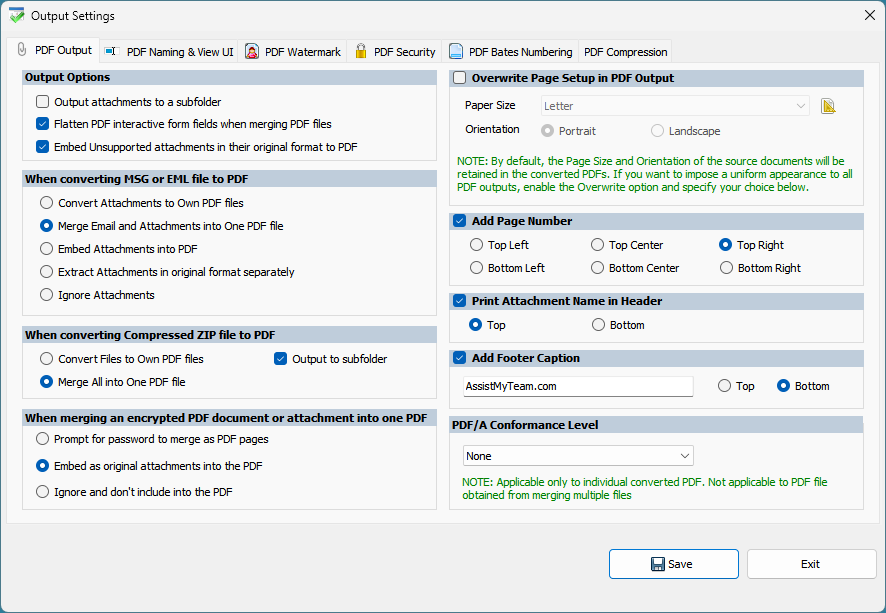
Use the Output Settings panel to control how the PDF files are converted and exported, with additional customization to the PDF outputs. Within the settings panel, you can enable insertion of page number, company name, printing document name in header/footer, PDF/A conformance level, naming the exported PDF files using metadata information of the original SharePoint documents or list items, applying background watermark in the form of company or logo, encrypting the PDF output file, inserting bates number, or applying PDF compression etc.
For more references and help, refer to the PDF Help Manual, which can be invoked from SharePoint to PDF Converter app > Help > Help Topics.
You can also download the full PDF help manual directly from this link: