
Step-by-Step Guide
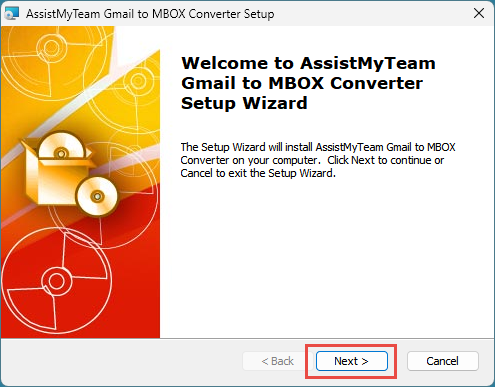
Step 1. Run the GmailToMboxSetup.exe to start the installation. Click ‘Next‘ to Continue.
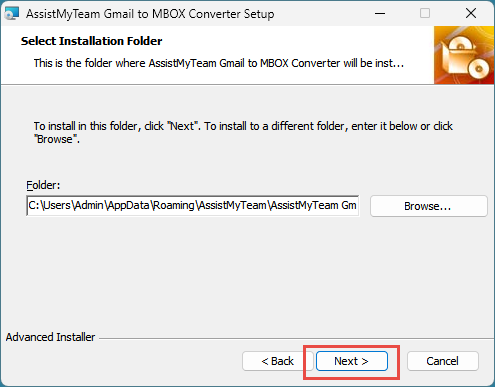
Step 2. Select the appropriate destination folder where the application files will be installed. If you change the default folder path, please make sure you have appropriate permission. (Note: by default, it will be installed under your application data folder)
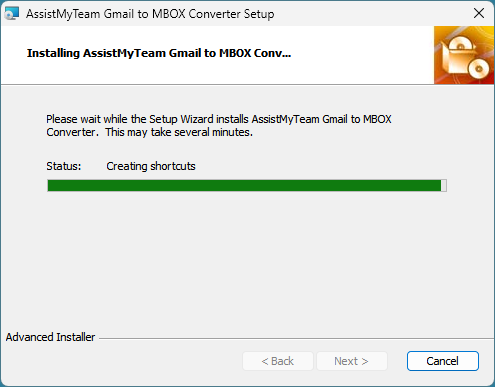
Step 3. Click ‘Next’ to continue with the files extraction. It just takes a few minutes to complete the whole copying process.
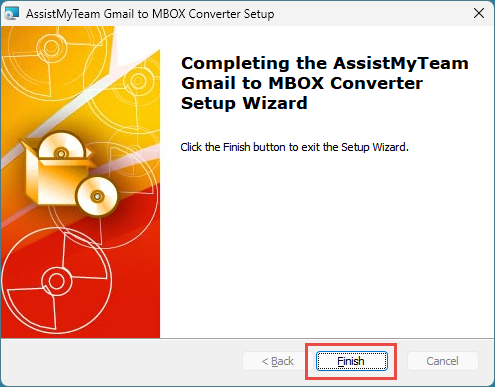
Step 4. Click ‘Finish’. This ends the files installation process in your system.
Now go to Start Menu > All Apps. If the installation was successful, you will see new menu entries ‘Gmail to MBOX Converter – Simple Mode’ and ‘Gmail to MBOX Converter – Advanced Mode‘.
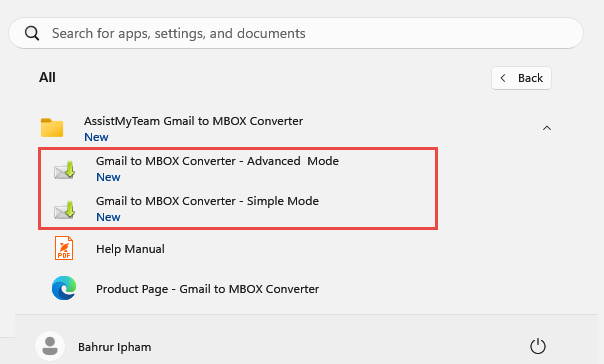
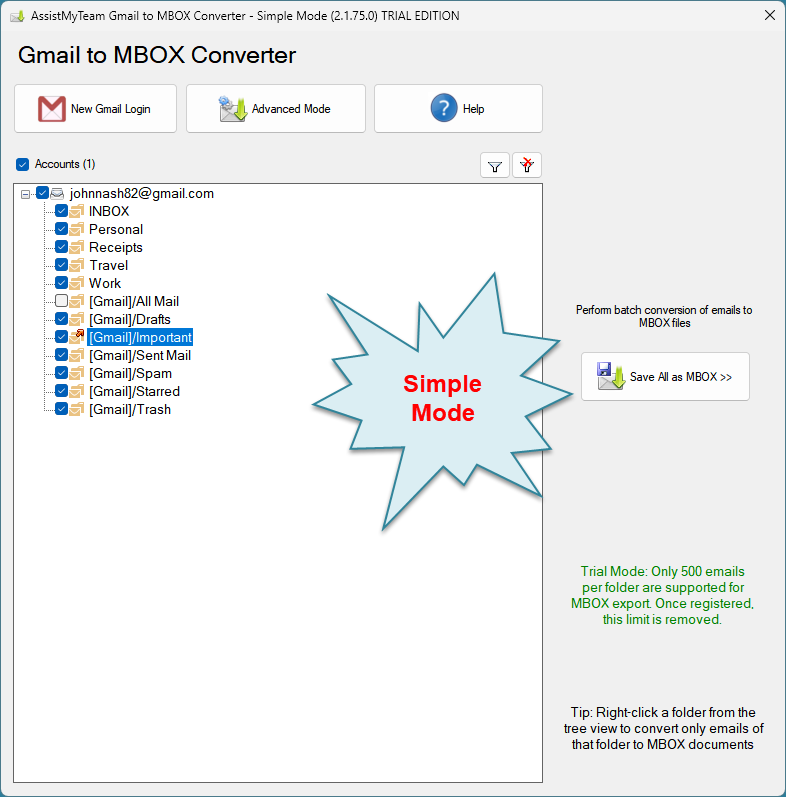
To run the app in default, basic mode, click ‘Gmail to MBOX Converter – Simple Mode‘ from the menu under ‘All Apps’. This will load and display the main interface of the converter app.
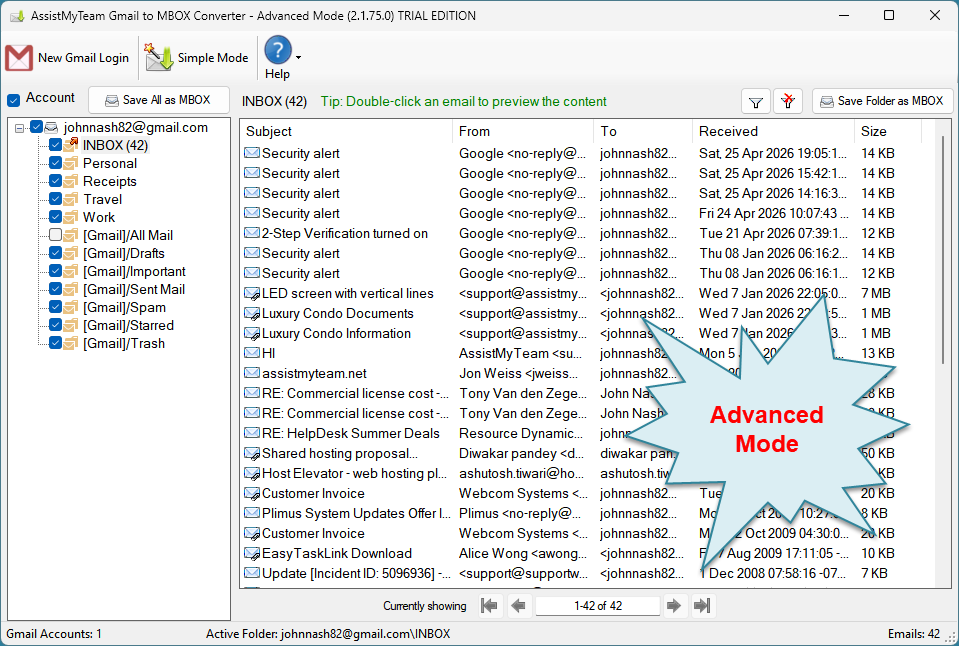
To run the app in advanced mode with full control, click ‘Gmail to MBOX Converter – Advanced Mode‘ from the menu under ‘All Apps’.
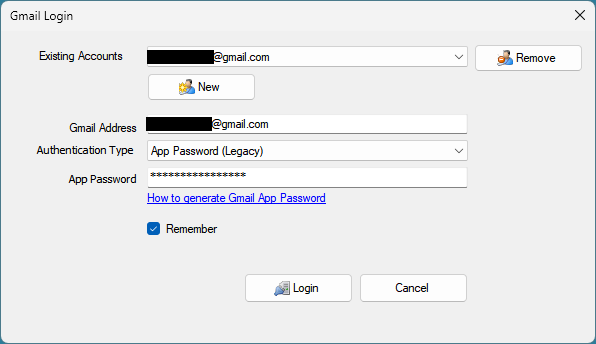
Before connecting the AssistMyTeam MBOX Converter app to your Google mail account for the first time, you will need to specify the email address. Note that, the App will not ask for your Google password. Instead, it uses either an App password (different from your Google password), which is a 16-character code that lets third-party apps access to your Google account securely, or modern OAuth2 authentication standard whereby, it will get an access token issued by Google for a short period via your web-browser.
For instance, you can connect your Google mail account with the Converter app by using a unique App password, which you can generate from your Google account settings. For more, refer to this KB article – How to set up an App password in Google?
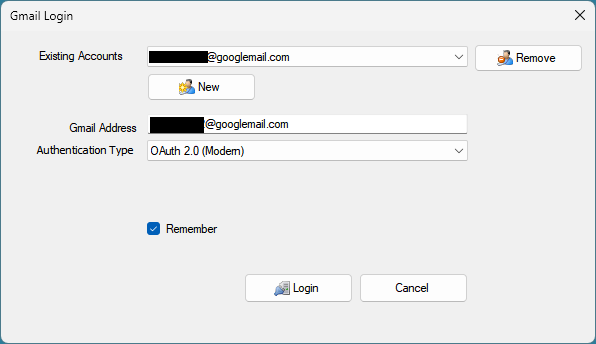
Alternatively, you connect your Google mail account with the Converter App using OAuth (Modern) authentication, all you need to specify is your Google user name and the app will authenticate using your default web browser.
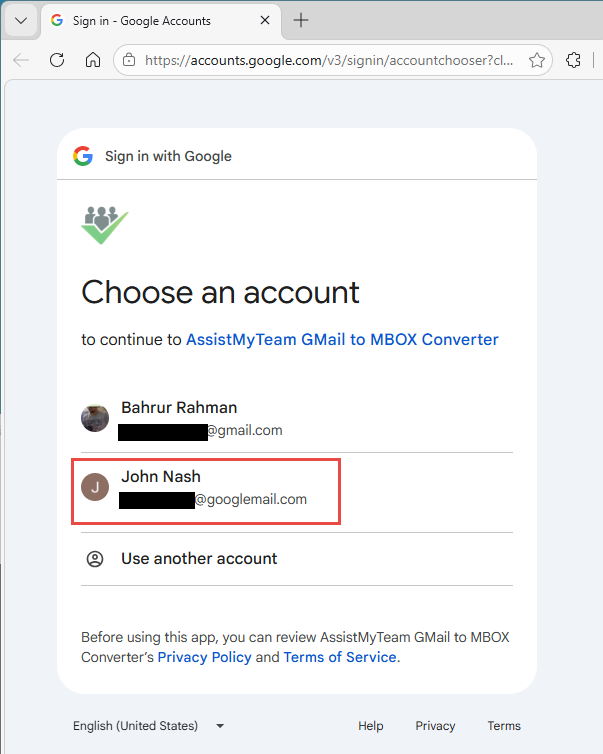
In the OAuth (Modern) authentication, when you try to connect the AssistMyTeam MBOX Converter app to your Google mail account, you will be prompted to grant permissions to the app to access your mailbox in your web browser. To allow the AssistMyTeam app to convert your emails to MBOX, click the particular Gmail account from the prompt.
And in the next prompt, you will need to grant access to your chosen Google mail account by clicking the ‘Continue’ button.
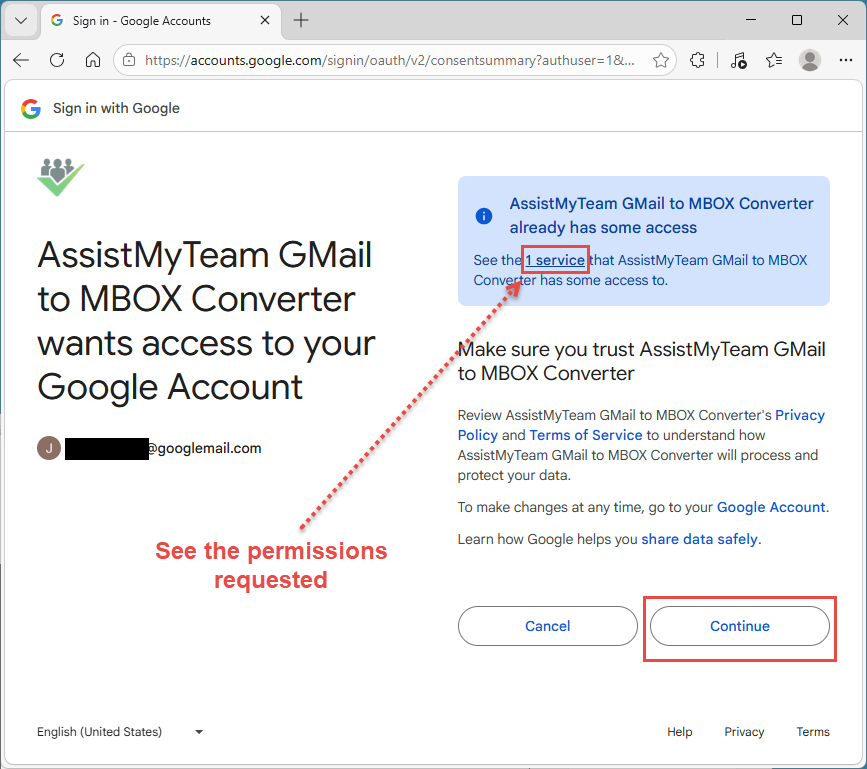
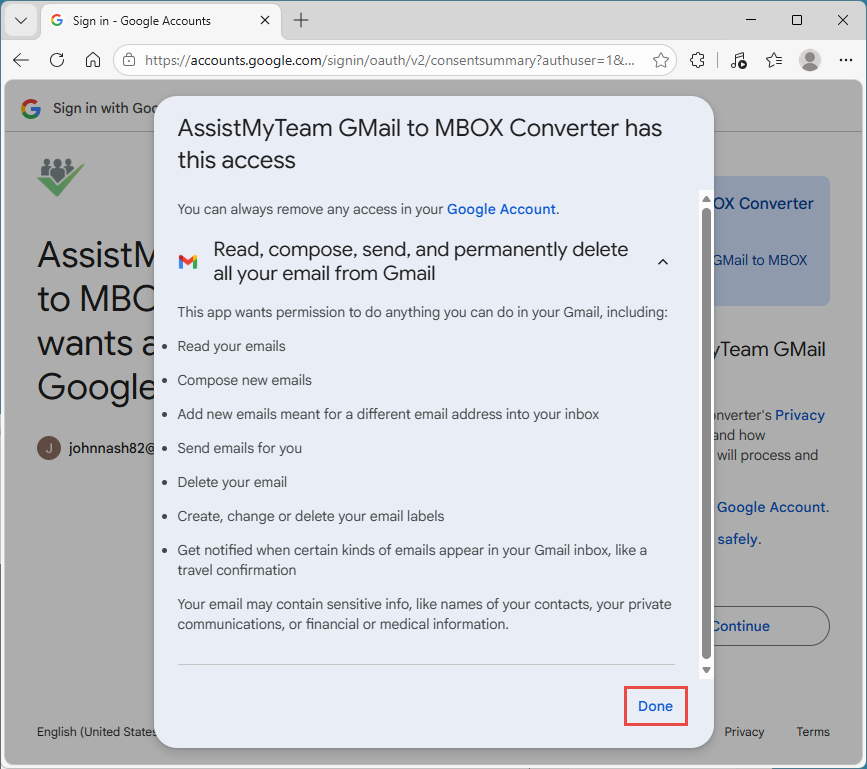
You can also see the permissions requested by the App by clicking the ‘Service’ link in the prompt.
For more references and help, refer to the PDF Help Manual, which can be invoked from Gmail to MBOX Converter app > Help > Help Topics.
You can also download the full PDF help manual directly from this link: